How To:
Ahhhh, the perfect blowout. How is it you never really look as put
together as you do when you leave
the salon after a professional blow dry? Is there magic to hair care and achieving the perfect blowout
or is it possible, just possible to do it yourself?
Actually, it is as long as you follow the right steps!
the salon after a professional blow dry? Is there magic to hair care and achieving the perfect blowout
or is it possible, just possible to do it yourself?
Actually, it is as long as you follow the right steps!
Take notes as MC Salon stylist - Mackenna Smith shows us step by step what to do!

Start with freshly-washed hair.
If you have dry hair, condition in the shower. If you have fine hair,
condition only the ends. Blot hair
-- never rub -- with a towel to get
rid of excess moisture. You can't do a blowout with super wet hair
or it
will take forever.
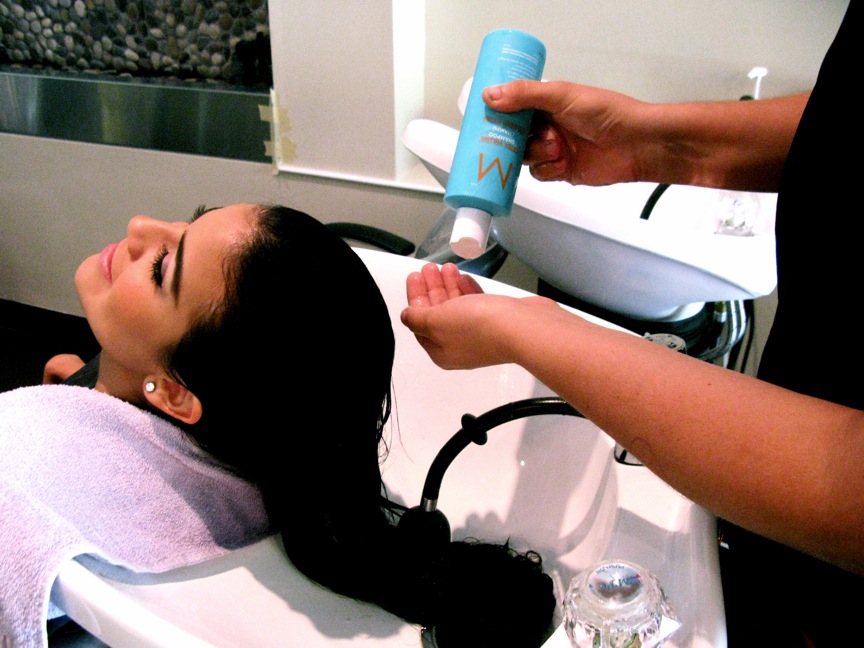
Mackenna used the Moroccan Oil Volumizing Shampoo and Conditioner to
cleanse the hair of
impurities and prepare the hair for styling.

While hair is still wet use a wide tooth comb to separate hair and detangle.

Must wear cute shoes!

Enjoy a nice glass of wine!

-ok ok- back to the hair part...

Divide combed hair into sections and secure with clips or ponytail
holders. I find winding hair into
mini buns -- two in the back and one
on each side -- works best. If you have super thick or heavy hair,
try
dividing each of your sections.
Apply product to towel-dried hair. A good styling product is key to the perfect blowout!
Here Mackenna uses the Arrojo Set and Style Spray to set the hair for hold and shine.

Stylists know the secret to the perfect blowout is to start with your
fingers. Pull your fingers through
hair starting at the roots. Pull hair
out a few inches and hold it while you use the dryer to shoot air at
the crown on down.
Now that your roots are dry, it's time to move on to a round-barreled
brush

As you pull the brush through hair, follow the brush with the dryer. I
love Dieguez's tip in Lucky,
"Imagine there's a point six inches in
front of your nose. Stretch the hair toward that point as you dry.
It
sounds crazy, but when you're done, the tips won't flip under or up --
they'll just sort of fan out over
your shoulders."

To achieve volume at the crown take your square sections above the ear and wrap hair around wide
velcro rollers. Mackenna used 3 inch velcro rollers, which is ideal for those who have hair past their
shoulders.
Once you have set your rollers be sure to spritz the hair with a light to medium hold hair spray.

Using the same motion as mention above, twist the hair out from the velcro rollers away
from the face.

Looking good! You're almost done!

Once rollers have been taken out, spray your hair once again with a light to medium hold hairspray.
Use a wide tooth comb to separate the hair away from your face.

Pump up the volume!


Finish with a light finishing product to keep your hair in place and
smooth any fly-aways. If
necessary, run a straightening iron over your
hair cuticles to ensure a completely smooth look.

Perfection!


The Moroccan Oil Volumizing Shampoo and Conditioner,
Arrojo Set and Style Spray and the Arrojo Dry Shampoo are all available today at Mark Christopher Salon!


Model: Andrea Carolina (How gorgeous is she?!!?)
Stylist: Mackenna Smith